Build a Killer YouTube Setup for Beginners
Gabriel
Reading time: 7 minutes
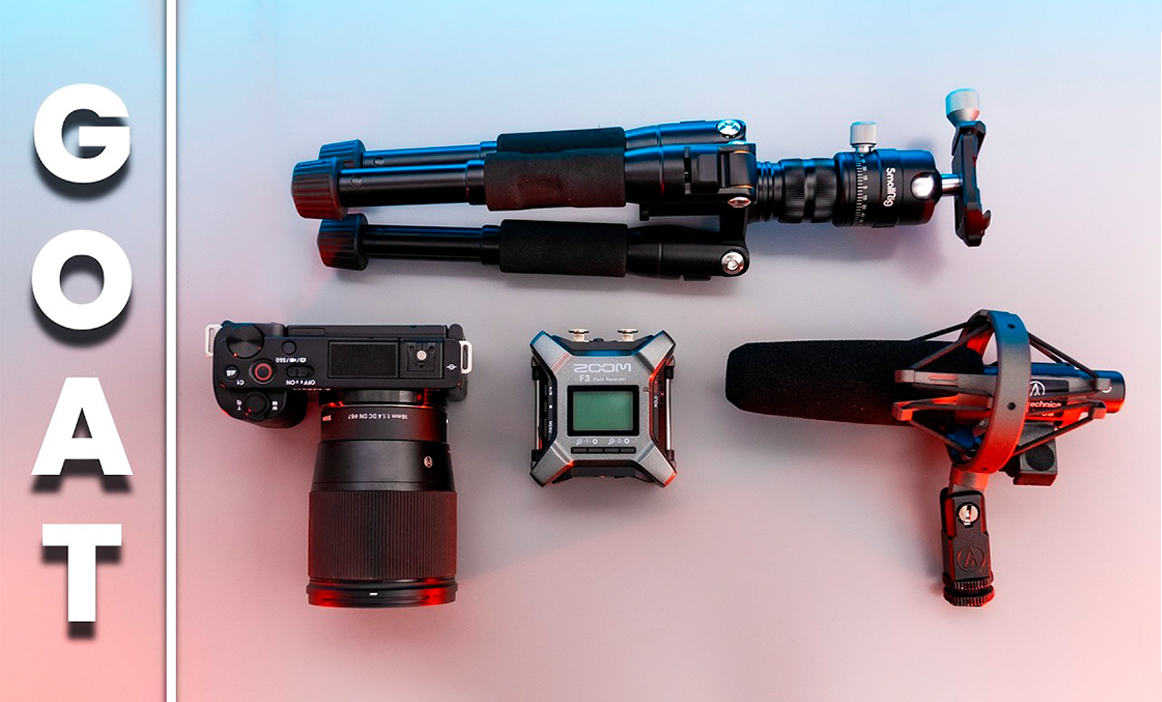
I will show you how to choose the best camera, the best lens, microphone, lights, and accessories.
This starter pack is easy to use and super powerful.
You want to start a YouTube channel to spread value, share your experience with other people, and make a business out of it.
But you don’t want to look like an amateur or use a complicated setup for talking head videos.
You don’t want to become a filmmaker, but you do want to create great, valuable videos.
In a few minutes, you will know exactly what the best setup is for you and your business.

I created YouTube videos for myself and for clients for years, and I’ve tested various setups.
What did I do at the beginning?
I invested in a cheap setup thinking that it would be ok, and after a few months, I decided, of course, to upgrade and lost all the money on the wrong investment.
I don’t want YOU to make the same mistake, so I will explain why this is the best investment.
Clearly, the most important thing is to have valuable content, but if you want to look professional and have a great image, you can’t expect to use a simple, cheap webcam and have a great image.
The phone is okay, but it is uncomfortable to use.
People will call you, you will always run out of memory and battery… It’s a mess to shoot with a phone.
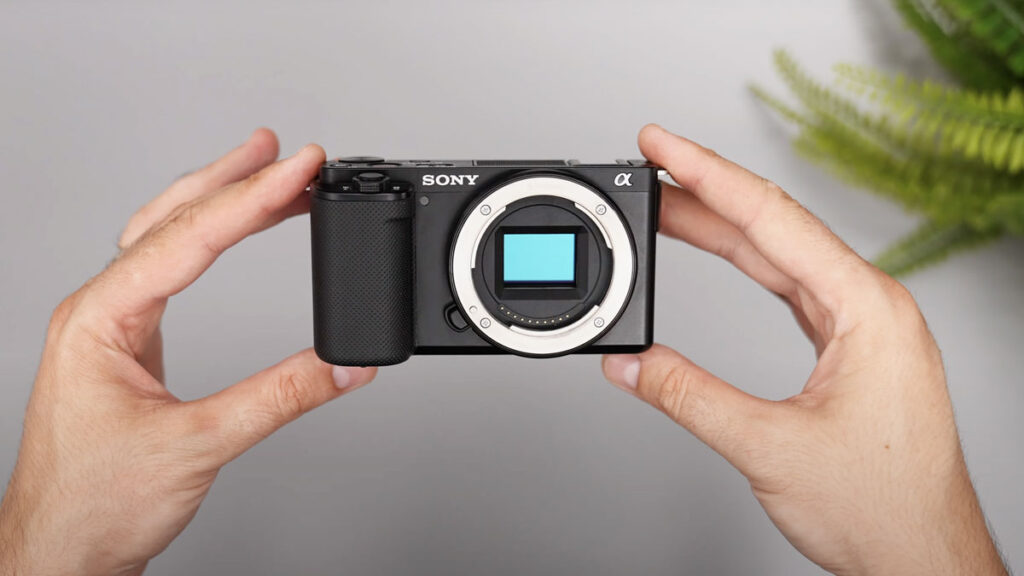
The best investment is a mirrorless camera.
I know it sounds expensive, but it is not that expensive when you consider this quality!
The best recommendation I can make is a Sony ZV-E10.
But buy only the body.
This is around $598
You will hear that this camera has bad image stabilization, that the battery is small, or that it can overheat sometimes, but you just need to learn how to use it and apply some simple, cheap tricks.
The price is excellent for this quality, and the camera is easy to use.
Yes, the image stabilization is not that good, and the battery is small, but for talking head videos, you’ll be using it on a tripod and shooting indoors.
You will use a dummy battery that connects to the wall and never worry about the battery.
This quality is more than enough for any YouTube Talking Head Channel.
If you want to create educational videos, this is the best Price/Value deal.
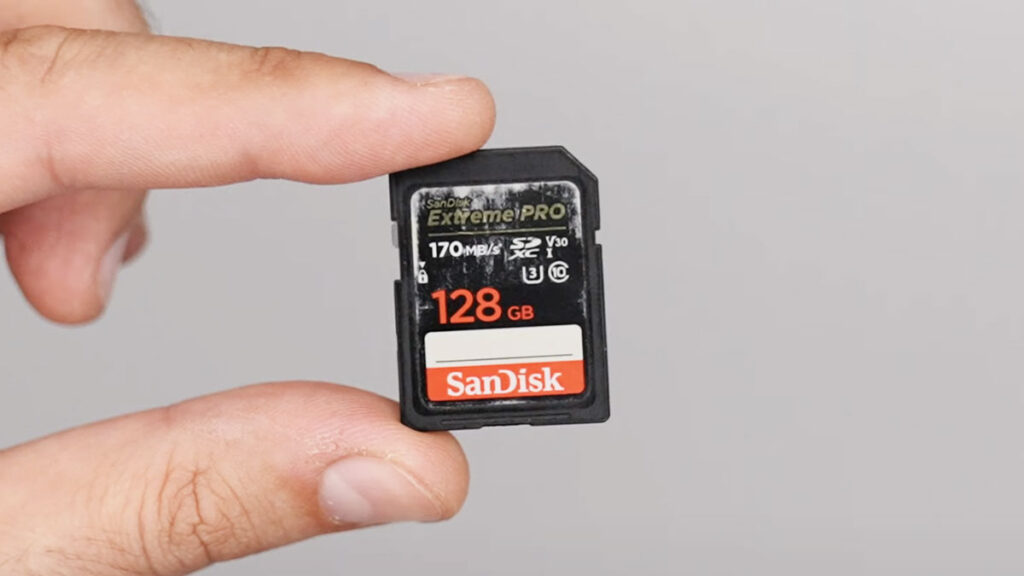
To use the camera, you also need an SD card. 128 GB is perfect. I can recommend Sandisk.
It’s around $21
And to have the camera in the right position, you need a tripod.
You can use a small tripod that sits on the desk, like Smallrig TV20, an excellent mini tripod.

Or a big tripod like this SmallRig CT-10 that costs around $69.
And to solve the battery problem, use a dummy battery.
The dummy battery is around $22

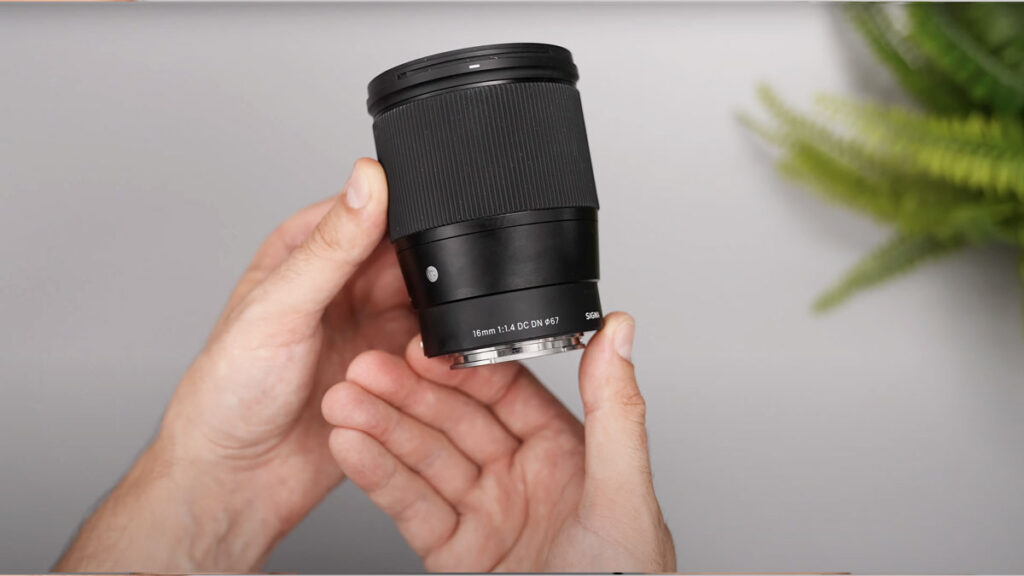
You want a lens that will help you build the best YouTube setup for beginners.
A lens that will help you achieve that professional blur behind you, that will perform well in low light so you won’t need to invest a ton or use huge lights, and be wide enough for a normal room, not a professional big studio.
The best pick for this is the Sigma 16mm f/1.4
This is a prime lens, so you can’t zoom, but because this camera shoots 4K, you can crop a little bit in post if you want to make some zooms.
This lens is $424, and it is worth every dollar.
The crystal clear image is wide, and the autofocus is awesome.
Now you have your camera and your lens.
The best YouTube Setup for beginners is not ready yet!
It’s time for a few mandatory accessories, and you will be good to go!
First, you need great sound.
This is mandatory for educational videos.
People want to hear you well.
I will give you two options because this is super important, but if you don’t want to invest much, I have a solution for you.
A budget, but a good microphone is the Rode Videomic GO 2.
This is a $99 mic that sounds great, and it’s easy to use.
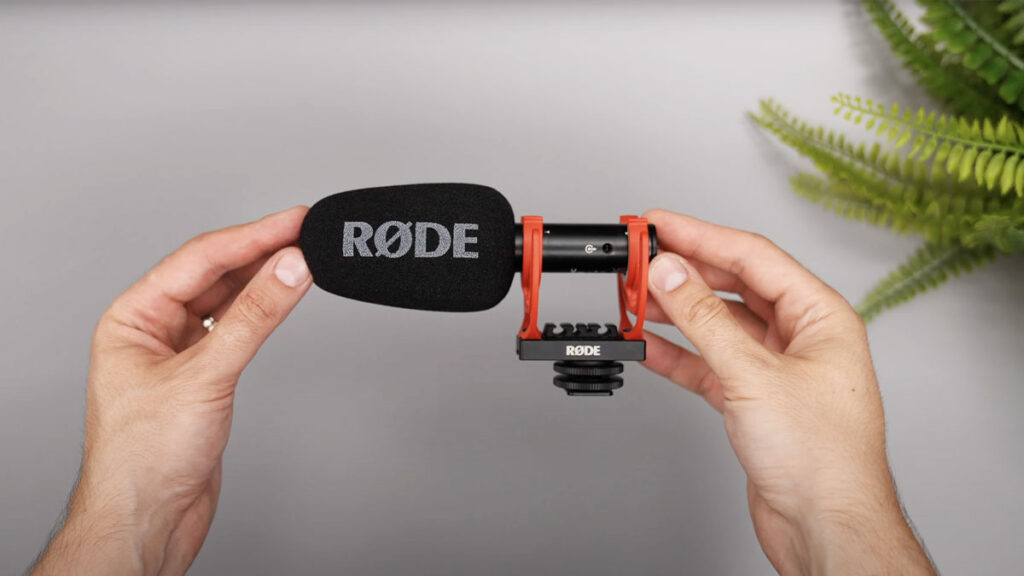
But you need to use it right.
You can connect it directly to the camera with a 3.5mm jack cable, or, what I recommend, is to use the USB port to record on the computer.
Use your video editing software to record the sound, or use free software like Audacity.
Using the USB-C will offer better sound and less noise than the camera preamps, and syncing the audio in post is super simple these days.
More important than the port you are using is positioning it correctly.
This is super important.
You will see many creators just attaching it to the camera, and that’s it.
This is wrong!
Position the mic as close as possible to your mouth, out of the frame if you don’t want to have it in the shot, and coming from the top.
This will help you get great sound and avoid pops, so you won’t need a pop filter.
A cheap but professional mic stand is $45 and will help you have the perfect position for your mic.
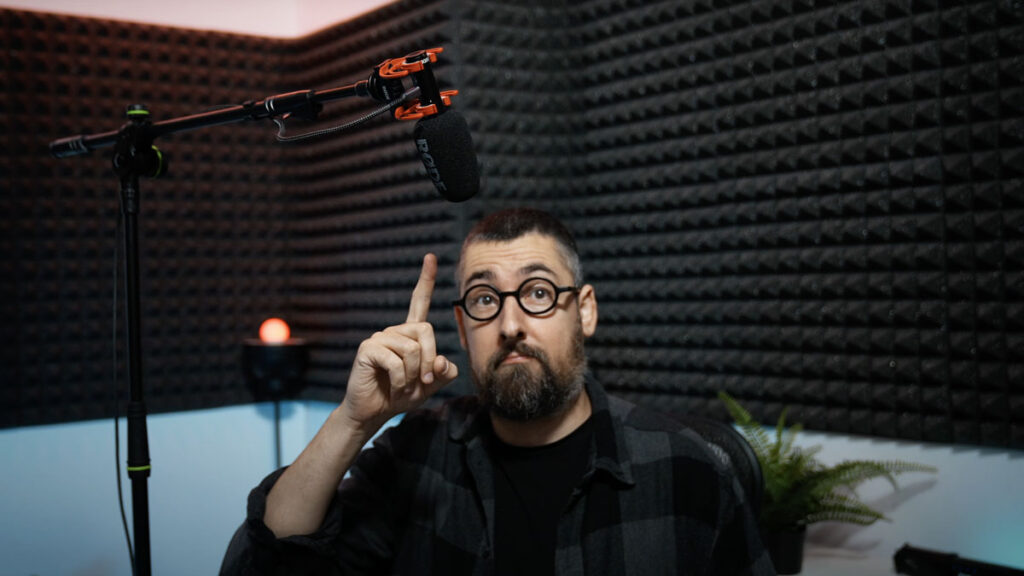
I recently discovered a Gravity stand that connects directly to the desk. It’s long and tall, and it’s perfect for talking head videos.
It also has some cable management clamps.
This model will help you avoid a classic mic arm entering the shot while having the perfect position for your mic.
To connect the microphone to the computer using a mic arm, you need a USB cable. A good cable is around $9
If you want to go to the next level because audio is extremely important, you can go with the Audio-Technica AT875r

This is $169 and works great with one of the best recorders on the market right now, when it comes to Price and Value, the Zoom F3.
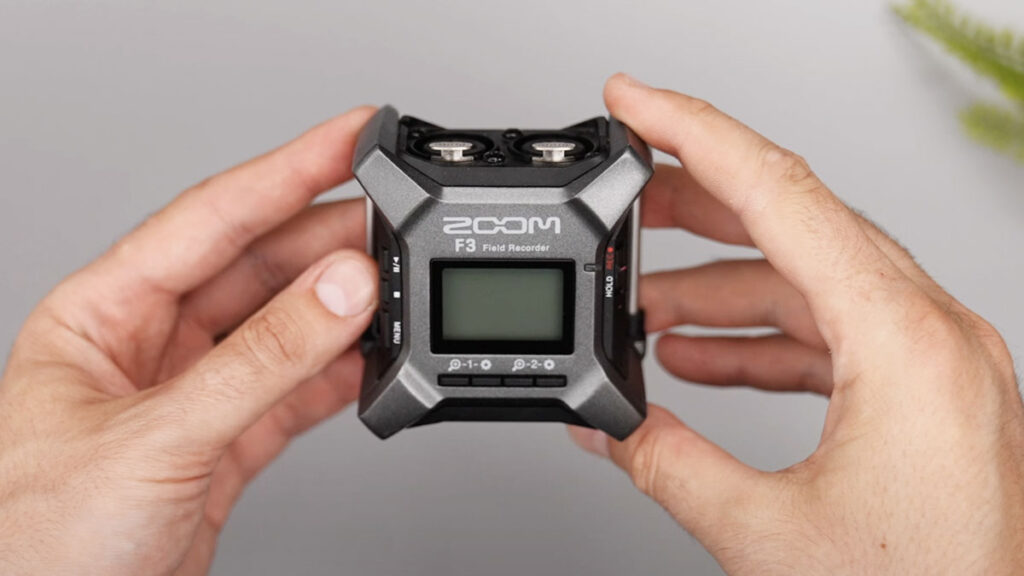
The recorder is $299 at the time of publishing this video. I see it on sale right now, reduced from $349.
And if you use this mic, you will also need a mic cable, which is also around $9. I recommend a shock mount, and this is the best one: AT8410a, priced at around $49. You’ll also need a micro SD card for the recorder, which is around $17.
You can go either with the Videomic GO2 if you want to reduce the budget, or with the F3 and AT875r.
The second setup is a killer setup that doesn’t need an upgrade for years.
Now you have the perfect camera, a great lens, and great sound, and you need to take care of one more crucial aspect: The lights.
Because many creators shoot in a normal apartment room, usually a small space, I recommend lights that don’t take up much space and don’t make annoying noise.
I use it for my YouTube videos, Godox ES 45. I recommend having two of them. They’re affordable, at $139 a piece.
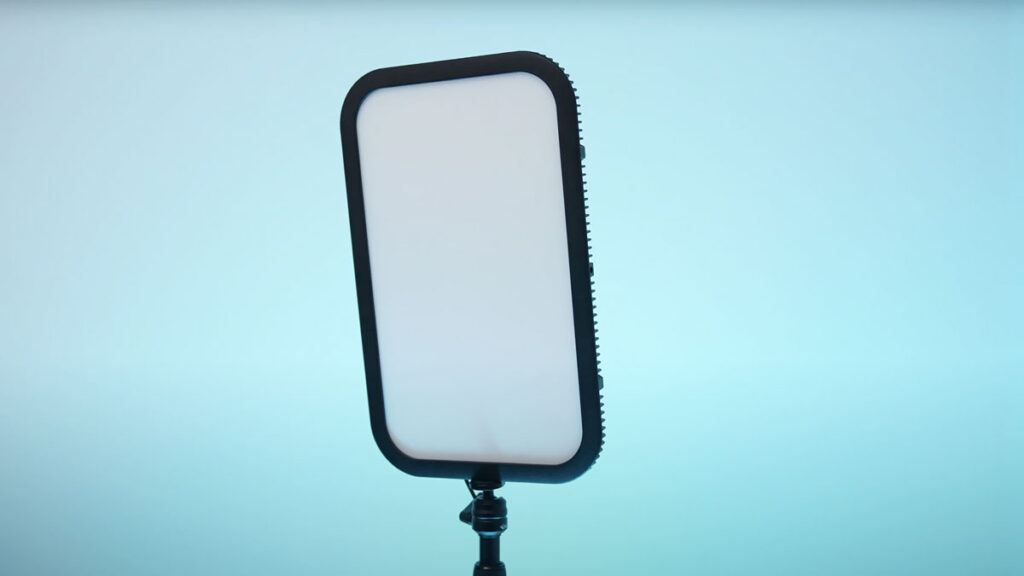
They come with desk stands, which are super useful, space savers, and include remotes to easily control them.
If you want to learn more about how to build your lighting setup, I will give you a dedicated article to build the best one, step by step.
The most important aspect is the audio quality
Yes! The kit lens of the ZV-E10 is great
Yes! But one is careful to have soft light and plan the shooting at the right time of the day
Yes! You can connect a 3.5 mm jack to the cameras and record the audio internally
This lens will help you in low-light conditions and also create a blur behind you
